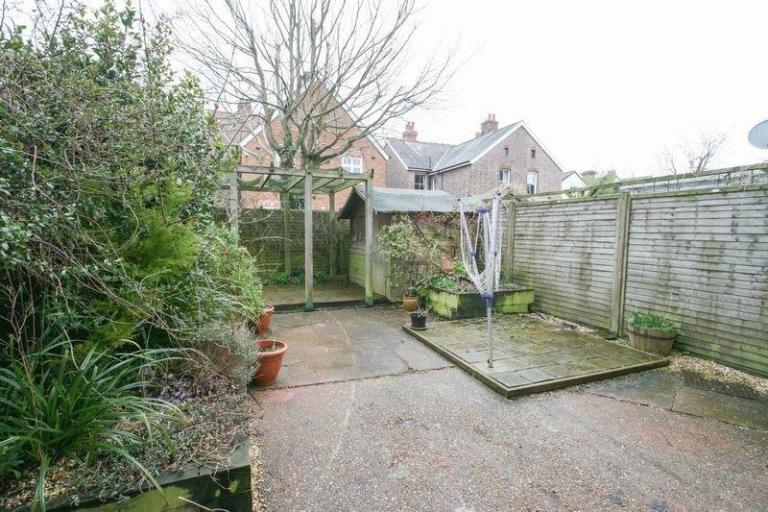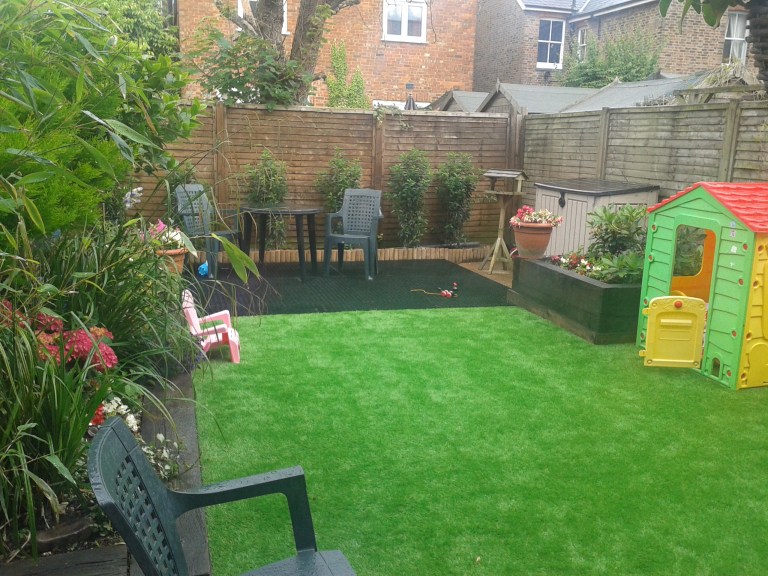
Are you thinking about turning your yard into a garden? Whether you want to create a safe area for your little ones to play or just tiding up a run down patio, artificial grass is the perfect solution. Soft to touch and cushioned underfoot, what more could you want?
To save money on the installation perhaps… This quick 4-step DIY installation guide has got you covered!
STEP 1 - Prepare the Area
Artificial grass can easily be installed onto any existing hard or smooth surface such as concrete or patio as long as it drains well. This is important as poor drainage can lead to standing water and not so pleasant smells.
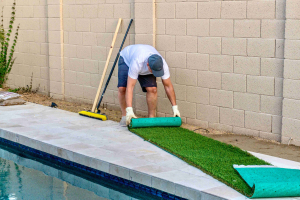
Once you're happy with the drainage system it's time to get started by preparing your sub-floor. Make sure it is level and clear of any dirt or debris, then lay your artificial grass across the area.
STEP 2 - Fitting Artificial Grass
Stretch out your artificial grass to remove any ripples and fix around the perimeter using Impero Adhesive. Depending on the size of your grass, you may choose to stick down the entire area. If so, we recommend using Impero Flex Grass Adhesive.
STEP 3 - Securing it Down
Ensure your artificial grass is adequately secured, then flatten using a carpet roller.
STEP 4 - Final Touches
Once you’re happy with the results, and ONLY in dry conditions, the final step is to dress your artificial grass with kiln dried sand (around 8kgs per m2). Brush into the pile with a stiff brush and admire your completed install.
Note: If your installation requires a join then please refer to our Easy Guide to Joining Artificial Grass. Artificial Grass can also be loose laid on hard surfaces, then sand filled. If you choose this method, then the perimeter must be fixed down to prevent tripping hazards using waterproof adhesive or galvanized nails.
If your anticipated area is decking then make sure your adhesive is waterproof or swap it for galvanised staples or Grass Fixing Nails.
Shall you need any further assistance then please do not hesitate to contact one of our artificial grass experts on 03333 205 022 or e-mail [email protected]


