Step-by-Step Guide: Installing Artificial Grass
Artificial grass is a fantastic alternative to natural grass, particularly for those who own pets. It offers a low-maintenance, durable solution that can withstand the wear and tear of pets. If you're considering installing artificial grass for your dogs, this comprehensive step-by-step guide will walk you through the process. We'll cover everything from preparing the area to laying the grass and ensuring its longevity. By the end of this guide, you'll have all the knowledge you need to create a beautiful, pet-friendly outdoor space.
Outline
- Preparing the Area
- Measuring and Ordering the Artificial Grass
- Clearing the Existing Grass and Soil
- Installing a Weed Barrier
- Adding a Base Layer
- Laying the Artificial Grass
- Securing the Edges
- Adding Infill Material
- Brushing and Maintaining the Artificial Grass
- Conclusion
1. Preparing the Area
Before you start installing artificial grass, it's crucial to prepare the area properly. This preparation involves removing any existing grass, weeds, or debris. You can use a garden fork or a turf cutter to loosen the soil and remove any roots. This step is essential as it ensures that the artificial grass has a clean and stable base to adhere to.
Next, you'll need to level the area by adding or removing soil as needed. It's crucial to have a smooth and even surface for the artificial grass to be laid on. This step may require some patience and precision, but it's worth the effort. A level surface will ensure that your artificial grass looks natural and feels comfortable underfoot.
2. Measuring and Ordering the Artificial Grass
The next step is to measure the area where you want to install the artificial grass. Take accurate measurements to ensure you order the right amount of grass. Remember, it's better to order a little extra than to run out during installation.
Most suppliers offer a range of grass options, so choose one that suits your needs and budget. Consider factors such as pile height, density, and color. Pile height refers to the length of the grass blades, while density refers to how many blades are packed into a given area. Once you have the measurements, place your order and wait for the delivery.
3. Clearing the Existing Grass and Soil
Once you have received the artificial grass, it's time to clear the existing grass and soil. Use a turf cutter or a spade to remove the top layer of grass and soil. This step is necessary to create a clean, flat surface for your artificial grass.
Dig down to a depth of around 50mm to create space for the base layer and the artificial grass. This depth allows for adequate drainage and ensures that the grass is level with any surrounding surfaces. Remove any large stones or debris from the area to prevent any unevenness or bumps in your artificial grass.
4. Installing a Weed Barrier
To prevent weeds from growing through the artificial grass, it's essential to install a weed barrier. This barrier is typically a geotextile membrane that you lay over the cleared area. This membrane prevents weed growth while allowing water to drain through, ensuring that your artificial grass stays looking great without the hassle of constant weeding.
Trim the membrane to fit the area and secure it in place using ground pegs or staples. Make sure it's tight and flat against the ground to prevent any wrinkles or bubbles that could disrupt the smoothness of your artificial grass.
5. Adding a Base Layer
A base layer is necessary to provide stability and drainage for the artificial grass. This layer is typically made of crushed stone or sharp sand. Spread this material over the weed barrier to a depth of around 25mm to 40mm.
Use a rake or a shovel to level the base layer and ensure it is evenly distributed. This step is crucial for ensuring that your artificial grass has a firm and stable base. Compact the base layer using a vibrating plate compactor or a roller to ensure it's solid and won't shift under the weight of the artificial grass.
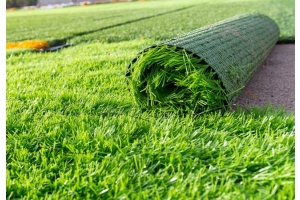
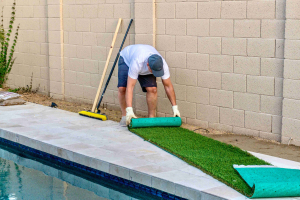
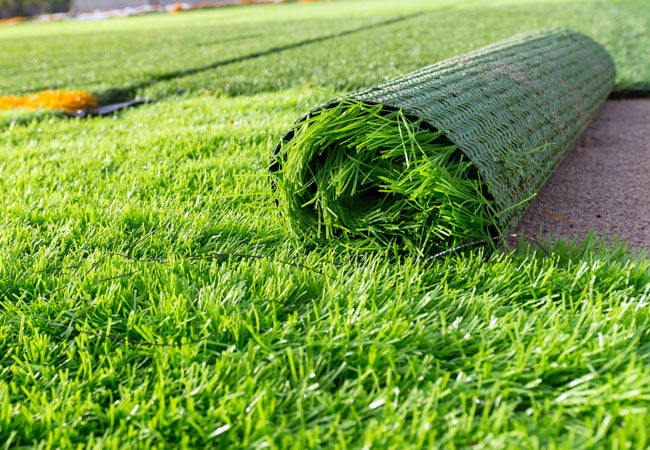
6. Laying the Artificial Grass
Now it's time to lay the artificial grass. Start by unrolling the grass and position it over the prepared area. Make sure the grass is facing the right direction and that any seams are aligned correctly. This step requires careful attention to detail to ensure that the grass looks natural and seamless.
Trim any excess grass using a sharp utility knife. Leave a small gap between the grass and any hard surfaces, such as walls or paving. This gap allows for expansion and contraction due to changes in temperature and prevents the grass from buckling or rippling.
7. Securing the Edges
To secure the edges of the artificial grass, use galvanized nails or lawn edging. Place these around the perimeter of the grass, ensuring they are evenly spaced. Hammer the nails into the ground or secure the edging using the provided stakes. This step will prevent the grass from shifting or moving over time, ensuring that it stays in place and looks great for years to come.
8. Adding Infill Material
Infill material is used to provide stability and support to the artificial grass. It also helps to maintain the shape and structure of the grass blades. Spread the infill material evenly over the grass using a stiff brush or a power broom. Aim for a depth of around 5mm to 10mm. Brush the grass in different directions to ensure the infill material is evenly distributed and the grass blades stand upright.
9. Brushing and Maintaining the Artificial Grass
After the installation is complete, it's important to brush the artificial grass regularly. This will help to keep the grass blades upright and maintain its appearance. Use a stiff brush or a power broom to brush the grass in different directions. This regular maintenance will keep your artificial grass looking lush and natural.
Remove any debris or leaves that may have accumulated on the surface. Additionally, rinse the grass with water occasionally to remove any dirt or pet waste. This step is particularly important for pet owners, as it helps to keep the grass clean and odor-free.
Conclusion
Installing artificial grass for your dogs can be a straightforward process if you follow these step-by-step instructions. By properly preparing the area, measuring and ordering the right amount of grass, and following the installation process, you can create a low-maintenance and pet-friendly outdoor space. With regular brushing and maintenance, your artificial grass will provide a durable and long-lasting solution for your furry friends. So why wait? Start your artificial grass installation today and enjoy a beautiful, hassle-free lawn for years to come.